702 Self Portraits


 The Rhinoceros, Albrecht Dürer, 1515

Last week all of you were set the challenge of completing a Collage Portrait during class time. The time limitations forced you to make quick decisions and to work continuously without debating your choices too much. This week you will be taking the same image from last week and creating a black and white copy of it using only white paper and ink. The concepts are similar - shape and form will be chosen to represent features in the portrait. The big difference here is that you will be working with only black and white. Nuances will be further blurred; you are not creating a line drawing, but something closer to a "stamp". As you can see from the example, detailing is once again simplified, but the overall contours and shapes of the face, hair, eyes, mouth, nose, and chin are still evident.
 A pochoir print of Matisse’s “Polynesia”
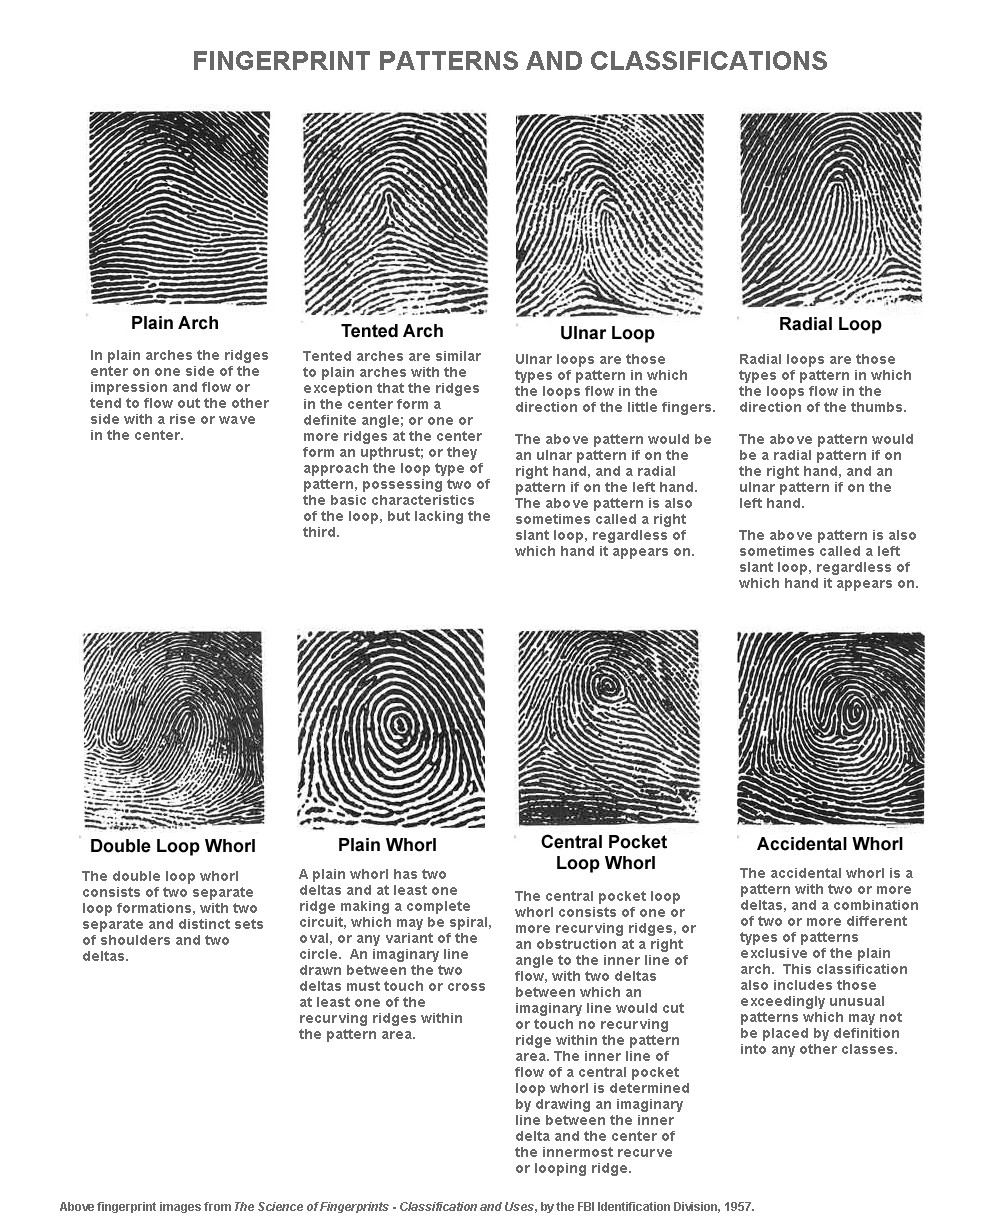
Grade 6 while you have been waiting for the projector to trace your Fingerprint, many of you have completed your first Collage Portrait. Collage Portrait, as we are calling it, is when you cut paper shapes to create the elements of a person's face and then glue them onto a background. Here are the basic steps: To start with choose a picture from a magazine. Keep the size to about an A4 sheet of paper. It is best if your picture is a simple facial portrait.
 Next take a sheet of tracing paper and place it over the picture that you chose. Then find shapes in the image. The hair can be one shape, the eyes, nose and mouth their own shapes. Try to simplify the image by making each element into a shape that you can easily cut from paper.
 When the shapes are all cut, glue them carefully to the A4 size background. Leave a small space between each shape and watch how the background colour helps to add line to your composition.
Tip. Do not glue right to the edges, it keeps the portrait paper clean AND the edges create fun shadows in the Collage Portrait.